Sanding is a messy job.
Depending on your sander and the material you're sanding, you could have dust flying EVERYWHERE.
Wearing a mask is always smart to protect your lungs, but this dust can end up covering everything in your shop.
That's why most woodworkers attach their shop vacs or dust extractors to their sanders to capture most of the dust.
But did you know that doing this the wrong way can ruin your work?
If you've ever bought a shop vac, you'll often see them advertised with how many HP they have or how many CFMs they can move.
Bigger is always better right?
Not true when sanding.
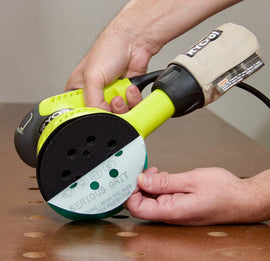
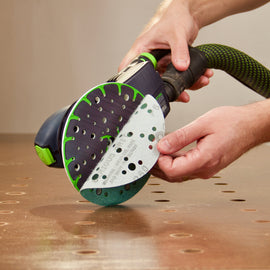
That's because when you attach your shop vac to your sander, it pulls air through the dust collection holes in the sanding pad.
Once your sander touches your workpiece, those holes get blocked and it creates tremendous suction.
Too much suction.
This suction creates pressure which pulls your sandpaper into your work with too much force and causes uneven scratch patterns.
Have you ever finished sanding a piece and noticed swirl marks or 'pigtails' all over it?
This is most often due to too much pressure from your dust collector.
So what's the solution?
It's a speed controller unit that you can attach inline with your vacuum to reduce the suction power.

We recommend either of these from MLCS but you can also search for 'router speed controller' on Amazon and find them as cheap as $20 or so.
Here's how it works on a shop vac:
Here's how to set it up:
- Plug the speed controller into the wall.
- Plug your vacuum into the speed controller.
- Turn the power all the way down.
- Start sanding and increase it only until you're getting adequate dust extraction. You shouldn't feel the suction pulling your sander into the wood.
Here's an image showing what to plug in where:

That's it! By tuning down the suction power on your vacuum you can achieve near 100% dust extraction without casing swirls or pigtails in your work.


